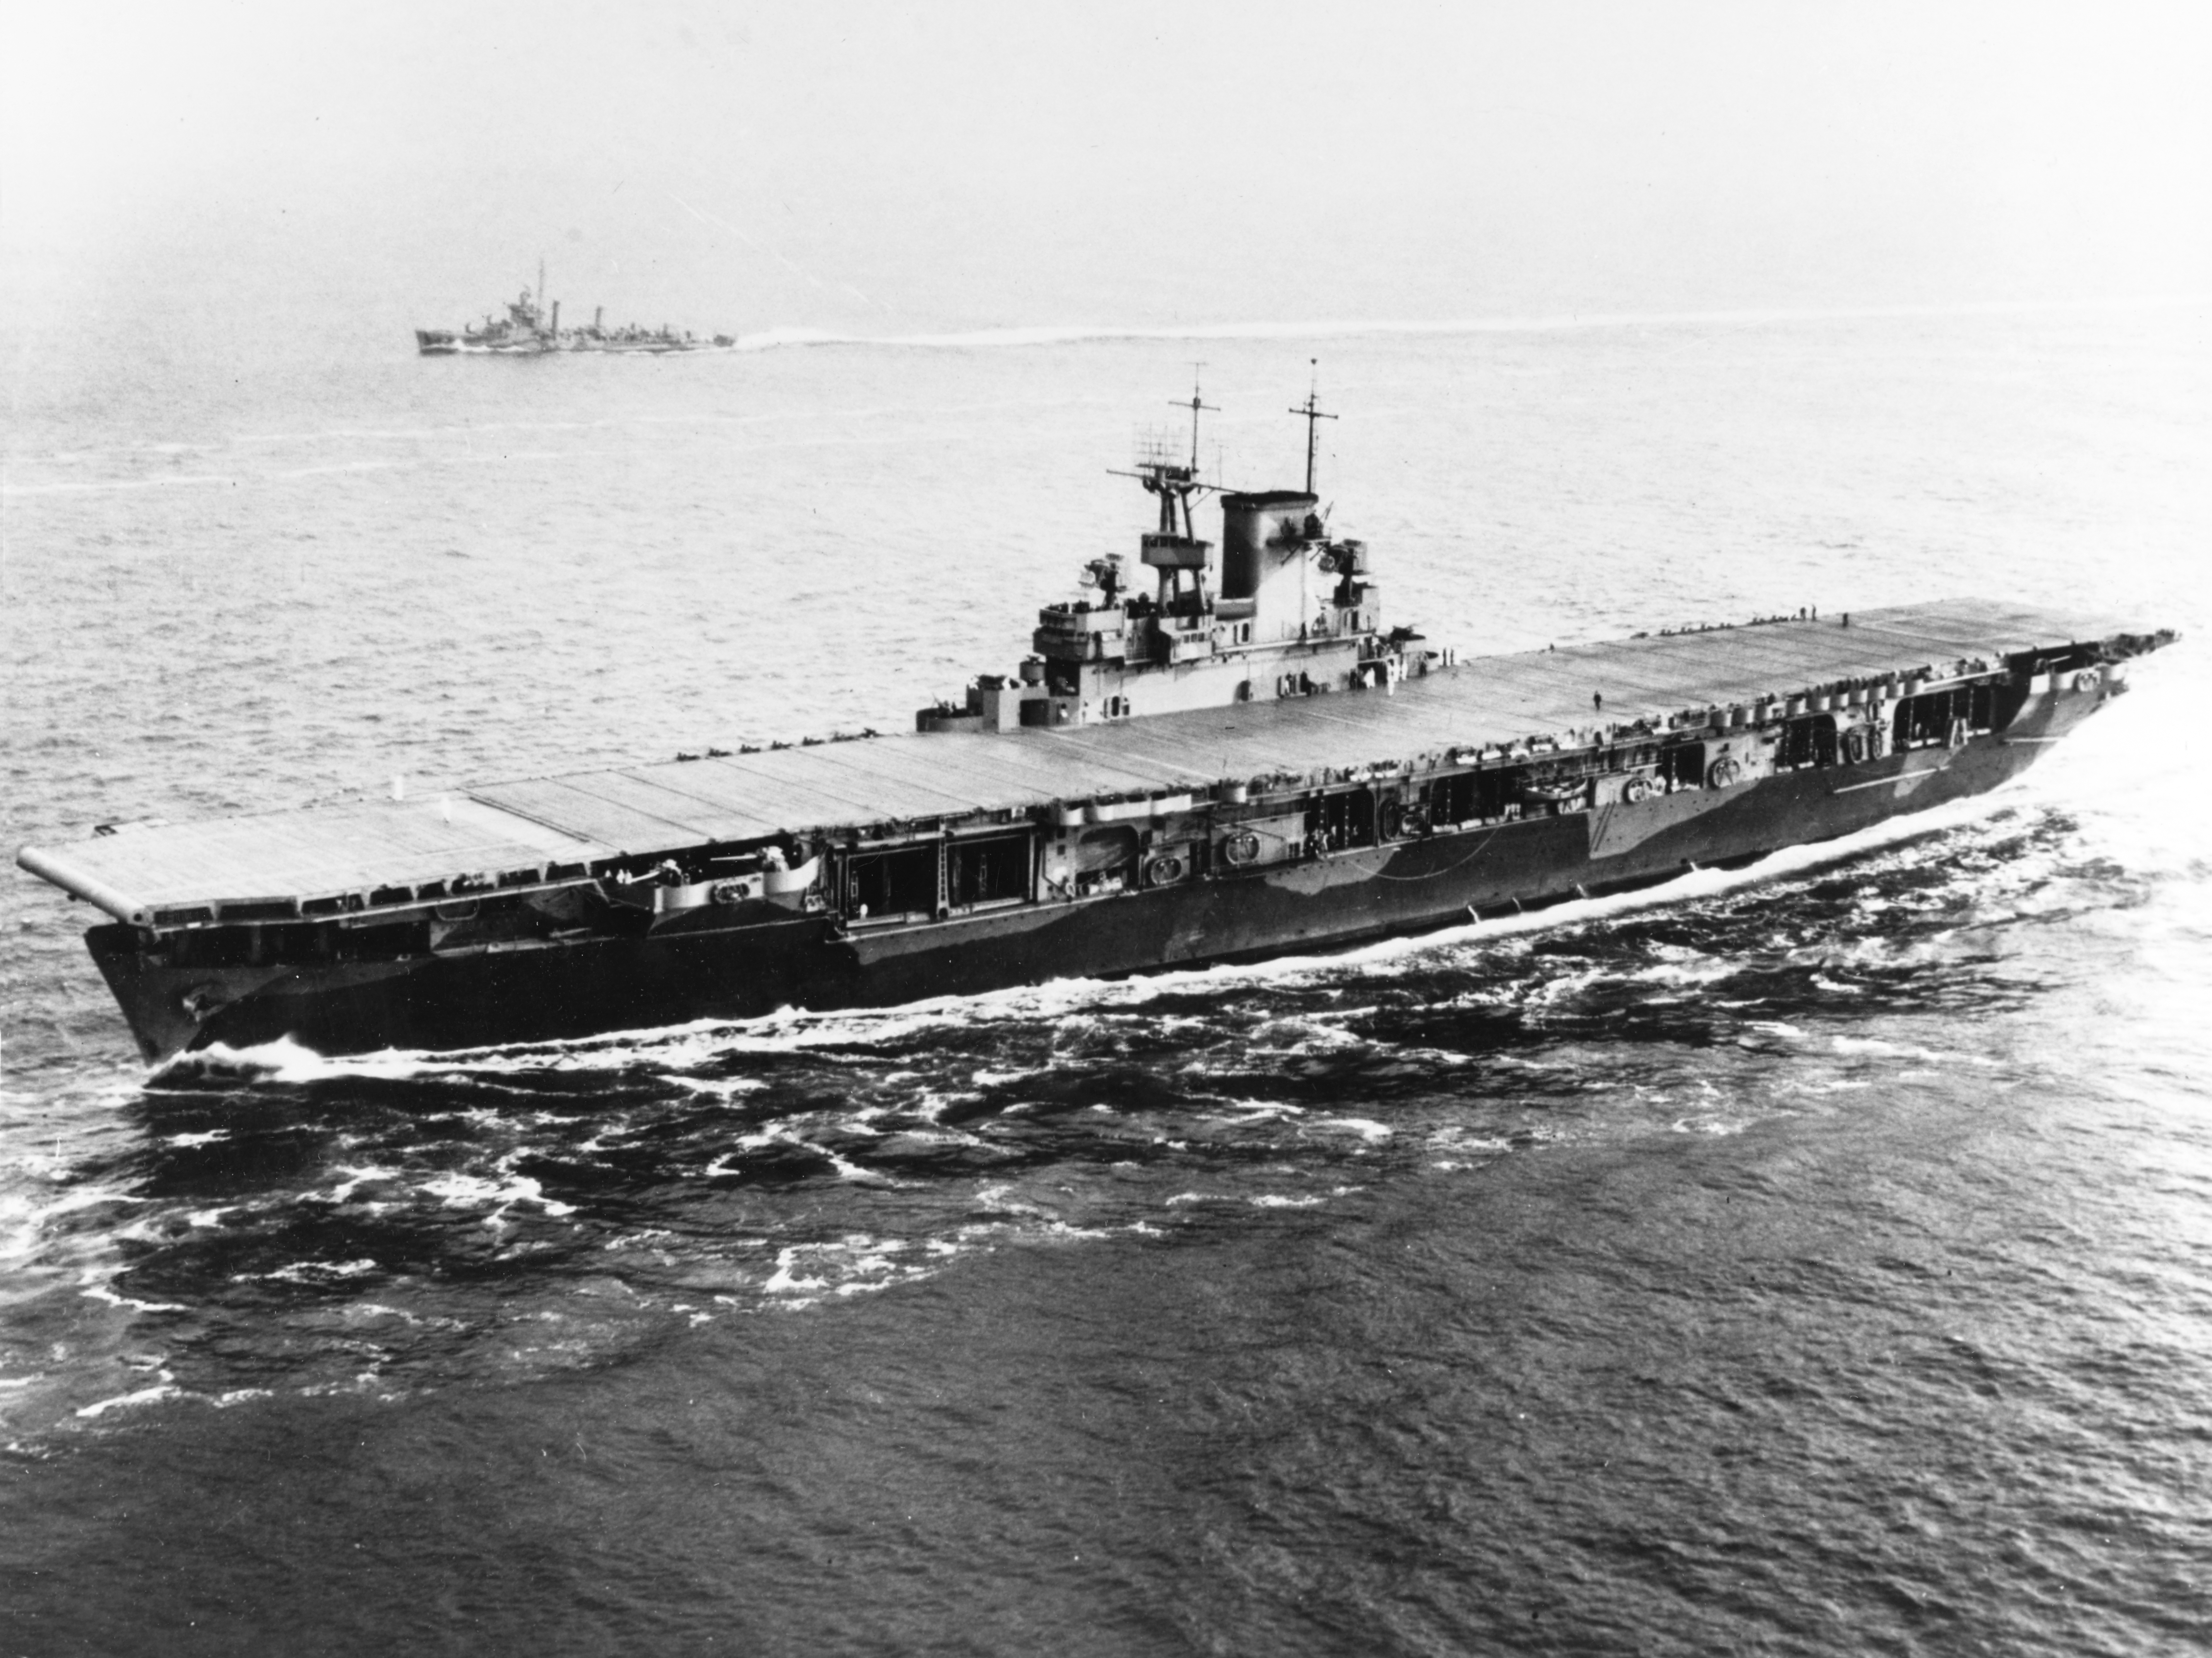
The latest project from my client is a model of the ship his father served aboard, the USS WASP. This ship has a unique place in history for its involvement in the Gemini space program. The kit is a very old Revell release in 1/520 scale. If my research is correct this kit was first produced in 1966.
Like many older models, the plastic is very heavy and a bit soft. The detail on the ship isn't bad, but the aircraft are full of mold flaws and low spots. The ship has a lot of pin dents, low spots and very heavy flash throughout. It will take a lot of extra work to make this one as nice as the others. The decals are very brittle and will likely fall apart if I even try to use them, so I won't. I will be painting the deck markings and numbers on this model.
It does come with plenty of aircraft though, and even a teeny tiny little Gemini capsule you can add. I'll include a picture of it later once it's painted.
 |
| Big sink marks like this are on almost all the aircraft. |
I started the kit by assembling the lower hull pieces and sides. This was a bit challenging due to the poor fit of some parts.


The deck elevators were also a bit of a challenge. The instructions for this old kit were a little tough to follow in places, and I actually assembled these incorrectly the first time. Fortunately I was able to repair my mistake without damaging any parts.


To improve the look of this part, I broke out some photoetched brass mesh I've had lying around. It wasn't a perfect match for the old framing but it looks much more to scale.

I
started by carving out the 'x' framing in each square and cleaning up
the openings. Once that was done, I trimmed and superglued the mesh in
place. This will look great once painted and is a huge improvement over
the kit part.


Once I was happy with the fit of the hull parts, I glued down the flight deck and set the hull aside to dry while I started on the island.

The island went together pretty well, the fit on some parts was a little loose but everything came together nicely.

After a little cosmetic work on the island, mainly just some seam filling and assembling the major parts, I glued it to the flight deck. As before, I will leave most of the small parts off until the main hull is painted. I also had to do some cleanup on the bow and re drill some portholes that were filled in.


After adding a few more parts to the island and doing a final fill and sand session, I basecoated the entire model flat black. This will help bring out the raised detail and make it easier to see when I start painting. It will also help considerably when painting the deck markings, as the kit decals are disintegrated on the sheet and likely not usable.


Once the model was dry I spot painted any light areas with more black and set it aside to dry overnight. While the paint was drying, I started working on the aircraft, which need a considerable amount of work.
If the weather is as nice tomorrow as it was today, I should be able to basecoat the ship tomorrow.
A FEW DAYS LATER....
Unfortunately this week has been really humid so painting outside was a no-go. It finally dried up enough to basecoat the Wasp last night. From my photo references it looks a little lighter than the other models I've done, so I decided to go with a basecoat of Camouflage gray instead of Light Sea gray. There isn't a lot of difference between the two but Camouflage gray is a little lighter.

Once the basecoat was dry, I masked off and painted the runway the next day using Gunship gray. There is a lot of contrast right now, but I think with some weathering and making the deck a little darker it will come out as seen below. If I need to darken it up a bit I will spray a new basecoat using a slightly darker gray.
_in_the_Atlantic_1970.jpg)

 |
| BEFORE |
 | |
| AFTER |

 | |
| Much better! :) |
I will also have to replace a few tail rotor blades that either broke off or did not mold well, but they are so small that I can just use .020 round stock and they will look fine. I also added propellers to the aircraft that need them using the same material. It made a huge difference!

After spraying a final coat of Light Sea Gray, I let the model dry and then started on the basic weathering before painting the deck markings. I used chalk pastels to darken the flight deck and runway areas, then coated the model with clear flat to set the pastel in place.


Once I was happy with the markings, I got to weathering. It was all done the usual way, darkening the traffic areas and landing zones with dark gray and black pastels and a little bit of airbrushing. I also highlighted a few lighter areas for contrast. After another coat of clear flat to seal everything up, I applied the last of the decals. I then masked the waterline and painted the lower hull Insignia Red with a black waterline. Then is was time for the numbers.


Once I was happy with the placement, I rubbed the drop shadows in using black pastel. I didn't use paint for fear of it bleeding, plus I wanted a worn look and not bold fresh numbers.


Now that the hard work was done, I began to lay out the aircraft and tractors. I also built two sets of folded rotor blades for the other two helicopters using more .040 half round stock and the kit rotor hubs. Once all the final touchups were dry, I glued everything down.
 |
| An itty-bitty Gemini capsule completes the elevator. |
 |
| More rotor blades! |
I also added some stretched sprue rigging in a few places to pretty things up a bit.


The age of this kit and the overall mold quality made this a tough build. It took a lot longer than I thought it would take to finish, but I'm very pleased with the results. I just hope the client likes it as much as I do! Despite the setbacks and mistakes I greatly enjoyed working on this kit.
No comments:
Post a Comment